How to Repair a Damaged Door Jamb Like a Pro
A damaged door jamb can compromise your home’s security and aesthetics, but repairing it doesn’t have to be a daunting task. The key to successful door jamb repair lies in understanding the extent of damage and choosing the right repair approach.
Whether you’re dealing with minor cosmetic issues or major structural damage, we’ll guide you through professional-grade repair techniques that deliver lasting results. From assessing the damage to selecting the proper tools and materials, this comprehensive guide breaks down the repair process into manageable steps.
Before you begin, it’s essential to determine if your door jamb needs:
• Simple wood filler repairs for minor damages
• Structural reinforcement for loose frames
• Complete replacement for severely damaged sections
Let’s dive into the step-by-step process of restoring your door jamb to its original condition, ensuring both functionality and appearance are properly addressed.
💡 Key Takeaway:
- For minor repairs, wood filler and careful sanding can effectively restore the door jamb’s appearance and functionality.
- Structural damage requires reinforcement techniques, including removing damaged sections and installing new pieces of wood for stability.
- Complete replacement of door frame sections may be necessary when dealing with extensive damage or wood rot.
- Professional assistance is recommended for severe structural damage, especially if the door jamb repair involves security concerns.
Assessing Door Jamb Damage
Types of Door Jamb Damage
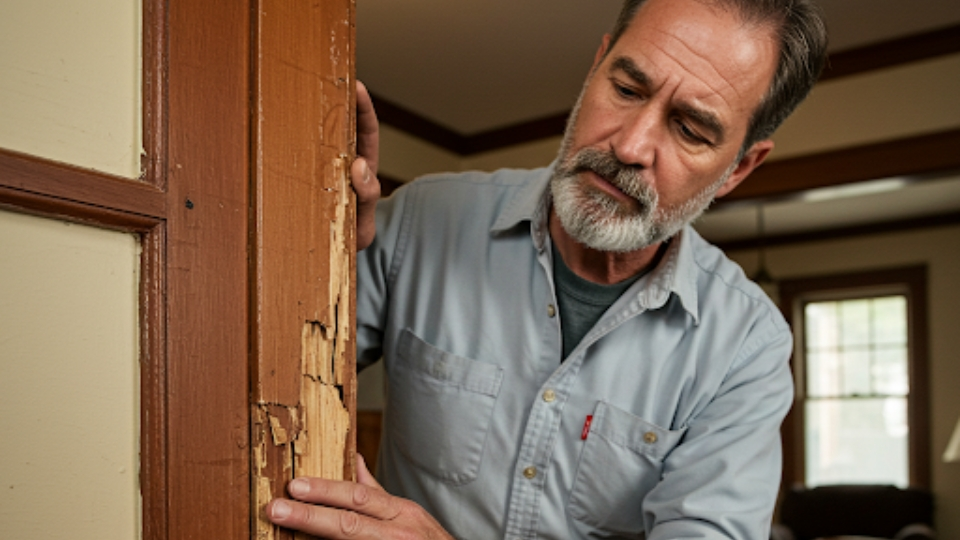
Before attempting any repairs, it’s crucial to identify the type and extent of damage to your door jamb. A damaged door frame can manifest in various ways, from minor cosmetic issues to severe structural problems.
Cosmetic damage typically includes surface-level issues like scratches, dents, or small holes. These problems are usually aesthetic and don’t affect the door’s functionality. They often result from daily wear and tear, pet scratches, or minor accidents.
Structural damage is more serious and can compromise the door’s security and operation. This includes split wood, rotted areas, or severe cracks that extend deep into the frame. Such damage might occur due to forced entry, water damage, or settling of the house foundation.
When to DIY vs. Call a Professional
For minor cosmetic damage, DIY repairs are often suitable and cost-effective. If you notice shallow scratches, small dents, or surface-level wear, these can typically be addressed with basic tools and materials from your local hardware store.
However, when dealing with significant structural damage, it’s best to consult a professional. Signs that indicate professional intervention include:
Essential Tools and Materials
Required Tools
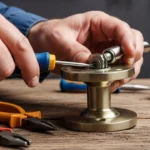
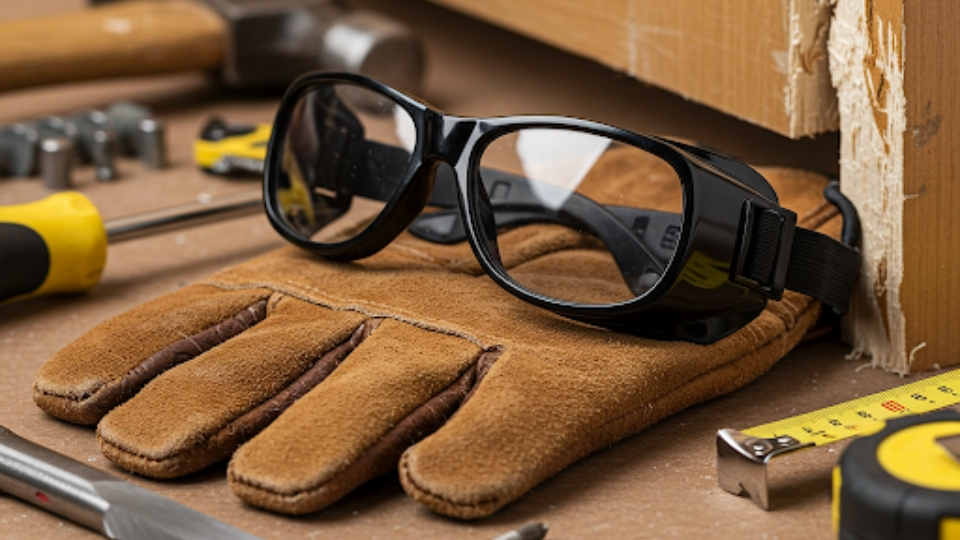
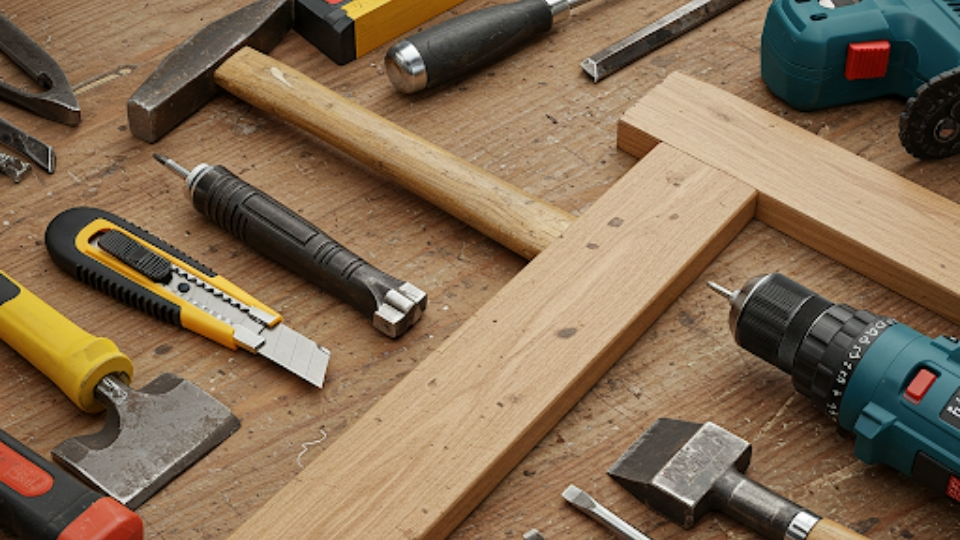
Before starting your door jamb repair project, gather these essential hand tools to ensure a smooth workflow. You’ll need a utility knife for precise cutting and trimming, a pry bar to remove damaged sections, and a hammer for various tasks. A level is crucial to ensure proper alignment, while a measuring tape helps with accurate measurements. Don’t forget safety equipment like protective goggles and work gloves to prevent injuries.
A power drill with various drill bits will make the job easier, especially when securing new pieces. Include both flathead and Phillips head screwdrivers in your toolkit for different types of fasteners. A chisel set will help in cleaning out old wood and creating clean edges.
Necessary Materials
Start with a door frame repair kit, which typically includes wood filler, epoxy, and other essential repair components. You’ll need wood pieces matching your existing door jamb’s dimensions for replacements. Purchase quality wood screws of appropriate lengths and wood glue for secure attachments.
Consider getting paintable caulk to seal gaps and weatherstripping to ensure proper insulation. If you’re planning to paint the repaired area, have primer and paint that matches your existing door frame. Keep some sandpaper of different grits handy for smooth finishing touches.
Repairing Minor Cosmetic Damage
Filling Dents and Scratches
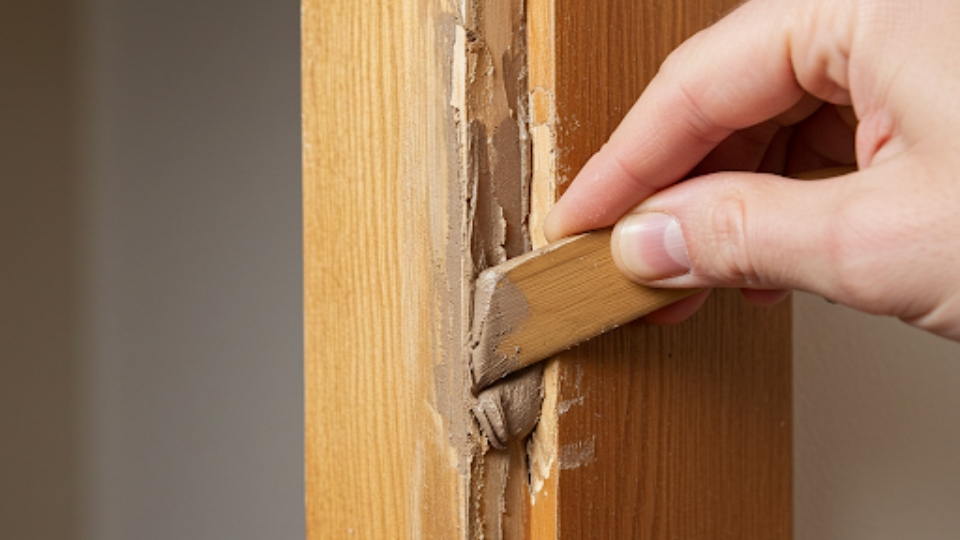
When dealing with minor cosmetic damage on your door jamb, the first step is addressing dents and scratches effectively. Start by cleaning the damaged area thoroughly with a damp cloth to remove any dirt or debris. For shallow dents, wood filler is your best friend. Apply it using a putty knife, ensuring you slightly overfill the damaged area to account for shrinkage during drying.
For deeper scratches, consider using a two-part epoxy wood filler, which provides better durability and adhesion. Work the filler into the scratch using smooth, even strokes. Allow the filler to dry completely according to the manufacturer’s instructions – rushing this step can compromise your repair.
Sanding and Finishing
After the filler has dried completely, careful sanding is crucial to achieve a professional-looking result. Begin with medium-grit sandpaper (120-grit) to level the filled area with the surrounding surface. Work in the direction of the wood grain to avoid creating additional scratches.
Graduate to finer-grit sandpaper (220-grit) for a smoother finish. Pay special attention to the edges where the repair meets the undamaged wood, ensuring a seamless transition. Once you’re satisfied with the smoothness, wipe away all dust with a tack cloth.
Finally, match the repaired area to the existing finish. If your door jamb is painted, apply primer followed by paint that matches the original color. For stained jambs, use a matching wood stain and finish with a protective clear coat. Apply thin, even coats for the best results.
🏁 Conclusion
Repairing a damaged door jamb is a manageable project that can significantly enhance your home’s security and appearance when done correctly. By following the steps outlined in this guide, you can assess the damage, gather the right tools, and execute professional-quality repairs that stand the test of time.
Remember that while minor cosmetic damages can be handled through DIY methods, extensive structural damage or wood rot may require professional intervention. Always prioritize safety and functionality when deciding between a DIY repair or calling a qualified contractor. The key is to address door jamb issues promptly before they escalate into more serious problems.
For homeowners in Houston seeking expert assistance, don’t hesitate to reach out to licensed professionals who can ensure your door frame repair meets local building codes and safety standards. Your home’s security is paramount, and a properly repaired door jamb is essential for both protection and peace of mind.
🙋♂️ FAQs
💬 Can I repair a door jamb that has water damage or wood rot?
Yes, you can repair a water-damaged door jamb, but the process differs from regular repairs. First, remove all rotted wood, treat the area with wood hardener, fill with epoxy wood filler, let it cure, then sand and paint. For extensive rot, replacement might be better.
💬 How much does it typically cost to repair a door jamb professionally?
Professional door jamb repair costs typically range from $150 to $400, depending on damage severity and location. Minor repairs might cost less, while extensive damage requiring full replacement could exceed $600, including labor and materials.
💬 How long does a DIY door jamb repair usually take?
For a basic repair, expect to spend 2-4 hours, including preparation, repair work, and finishing touches. Complex repairs might take 6-8 hours. The timeline depends on your experience level, damage extent, and drying time for materials.
💬 What tools are absolutely essential for a door jamb repair?
Essential tools include a utility knife, wood filler or epoxy, sandpaper, wood chisel, hammer, prybar, screwdriver, and paint supplies. For structural repairs, you’ll also need a saw, level, and possibly a door frame repair kit.
💬 How can I prevent future door jamb damage?
Install door stoppers, reinforce strike plates with longer screws, maintain proper door alignment, and address moisture issues promptly. Regular inspection and maintenance of weather stripping can also prevent water damage and wood rot.
Our branches in the United States
Get Your Free Window Repair Estimate Today!
Don’t let window damage compromise your home’s comfort and efficiency.
Contact Windows and Doors Repair LLC
(281) 595-0406
✉️ contact@windowsdoorsrepair.com